


Sports Photography Tips: How to Capture Your Child's Best Moments on the Field
Table Of Contents
Why Sports Photography Matters for Your Child
Gear You Actually Need (And What You Don't)
Understanding Light: The Key to Sharper Photos
Camera Settings That Make All the Difference
Positioning and Angles: Where to Stand for the Best Shots
Capturing Emotion, Not Just Action
Tips Specific to Different Sports
Editing Your Photos: Quick Wins for Busy Parents
Infographic: Sports Photography Quick-Reference Cheat Sheet
Final Thoughts
Capturing the Magic of Every Match
There is something irreplaceable about a photograph that freezes the exact moment your child scores their first goal, leaps for a header, or bursts into a grin after a hard-won game. These are the snapshots that live on bedroom walls, fill family albums, and get pulled out years later when your little athlete is all grown up. Yet getting those crisp, emotionally rich shots at a kids' sports game is genuinely tricky. The action is fast, the lighting is unpredictable, and you are usually cheering at the same time as trying to frame a shot.
Whether your child plays in a Vivo Kids multi-sports programme session or trains with the Vivo Kicks Academy, these sports photography tips will help you walk away from every game with photos you are genuinely proud of — no professional camera required.
Why Sports Photography Matters for Your Child
Beyond the obvious keepsake value, sports photos play a surprisingly meaningful role in a child's development. Research in positive psychology consistently shows that children who can visually revisit moments of effort and achievement develop stronger self-confidence and a healthier relationship with challenge. When your child sees a photo of themselves mid-sprint, eyes focused, body committed, it reinforces a self-image as someone who tries hard and shows up.
Photos also become wonderful conversation starters. A shot of your child celebrating with teammates opens the door to talking about teamwork, sportsmanship, and the joy of shared effort — values that sit at the heart of what great children's sports programmes are all about. So the investment in learning better photography is about much more than pretty pictures; it is about building a visual record of your child becoming a more capable, confident person.
Gear You Actually Need (And What You Don't)
Let's clear up the first big myth: you do not need an expensive DSLR to capture great sports photos. A modern smartphone with a decent camera performs remarkably well in decent lighting, and many parents get their best shots on a phone simply because it is always in their pocket. That said, a few gear considerations genuinely matter.
Smartphone users: Use the native camera app rather than third-party apps, as it processes images faster with less shutter lag. Enable the burst mode (hold the shutter button down) to capture rapid sequences and pick the sharpest frame later.
Camera users: A mirrorless or DSLR camera with a zoom lens in the 70–200mm range is ideal for field sports. It lets you stay at the sideline while still filling the frame with your child, which produces far more intimate, impactful images.
Here is a quick breakdown of what is worth having and what is not:
Worth it: A telephoto or zoom lens (even a budget kit zoom), a spare battery, and a fast memory card (Class 10 / UHS-I or faster)
Skip it for now: Flash units (they rarely reach far enough and can distract players), heavy tripods (you need mobility), and expensive lens filters
Optional upgrade: A monopod, which gives you the stability of a tripod while letting you swing and follow the action freely
Understanding Light: The Key to Sharper Photos
Light is the single biggest factor separating a blurry, dull shot from a vibrant, sharp one. In Singapore, you will typically shoot in one of three conditions: bright outdoor midday sun, late-afternoon golden-hour light, or indoor gymnasium lighting.
Midday outdoor sun is harsh and creates deep shadows under eyes and chins. If you cannot avoid it, try to position yourself so the sun is behind you rather than behind your subject. Alternatively, look for shots where your child is in open shade for a softer, more flattering light.
Late-afternoon light (roughly 4–6pm, which coincides with many after-school sessions) is a photographer's favourite for good reason. The warm, angled light is flattering and creates a natural glow around fast-moving subjects.
Indoor gymnasium lighting is the most challenging. It is often dim, slightly yellow or green-tinted, and inconsistent. In these conditions, push your ISO higher (see camera settings below), shoot in RAW if your camera allows it, and plan to do a small amount of colour correction in editing.
Camera Settings That Make All the Difference
Even if you shoot in auto mode most of the time, understanding a few key settings will dramatically improve your sports photos.
Shutter speed is the most important setting for sports photography. To freeze motion cleanly, aim for a minimum shutter speed of 1/500s, and ideally 1/800s or faster for fast-running children. If your camera shows motion blur, your shutter speed is too slow.
ISO controls your camera's sensitivity to light. Outdoors in good light, keep it at 100–400. In darker conditions, do not be afraid to push it to 1600 or even 3200. Modern cameras handle higher ISO well, and a slightly grainy sharp photo is always preferable to a crystal-clear blur.
Continuous autofocus (AF-C or AI Servo on Canon) is your best friend. This mode keeps your camera constantly refocusing on a moving subject, dramatically increasing your hit rate on sharp shots.
Drive mode / burst shooting captures multiple frames per second. Use it liberally during key moments — a run-up, a kick, a tackle — and sift through the burst to find the sharpest, most expressive frame.
Positioning and Angles: Where to Stand for the Best Shots
Where you position yourself on the sideline matters enormously. A few positioning principles will consistently improve your results.
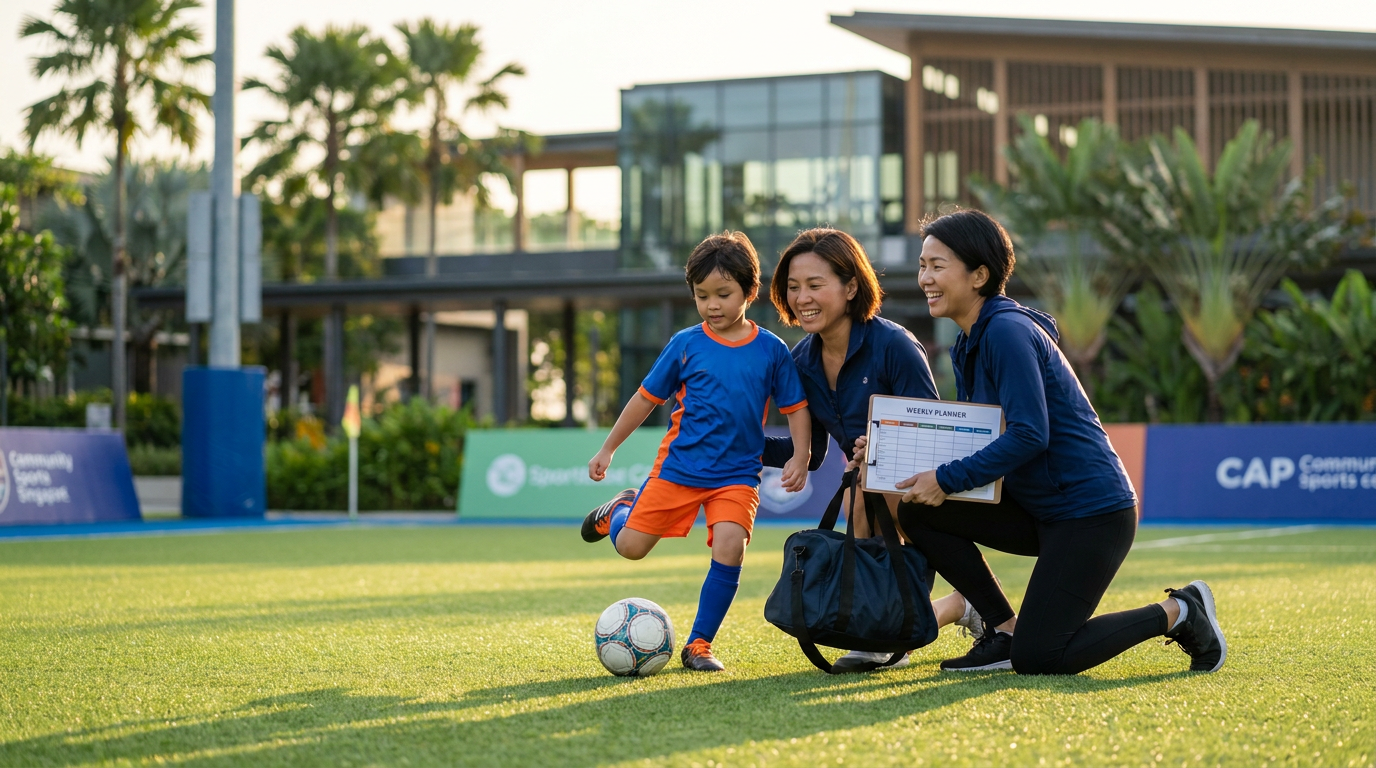
Get down to your child's level. Standing upright and shooting downward produces shots that feel distant and impersonal. Kneeling or even sitting on the ground brings you to the child's eye level and produces images that feel intimate and powerful.
Anticipate the action, do not chase it. Rather than spinning around trying to follow the ball, study the game for a few minutes first. Where does your child tend to move? Which end of the field do they spend most time on? Position yourself ahead of the action and let it come to you.
Use a clean background. Before you settle into a shooting spot, glance at what is directly behind your intended subjects. A cluster of other parents, a busy road, or a cluttered equipment area will compete for attention in the photo. A patch of green grass or a plain wall is far more flattering.
Look for the light, then the action. Position yourself so the light is falling on your child's face rather than behind them (which creates silhouettes, lovely occasionally but not always).
Capturing Emotion, Not Just Action
The most memorable sports photos are rarely the technically perfect action shots. They are the ones that catch a child's raw expression — the burst of joy after a goal, the concentration before a penalty kick, the proud handshake at the end of a game, the exhausted but satisfied slouch on the bench.
To capture these moments, stay alert between plays. Lower your camera during a dead ball and watch your child's face. The celebrations, the huddles, the coach-to-player conversations — these are often richer than anything that happens during open play.
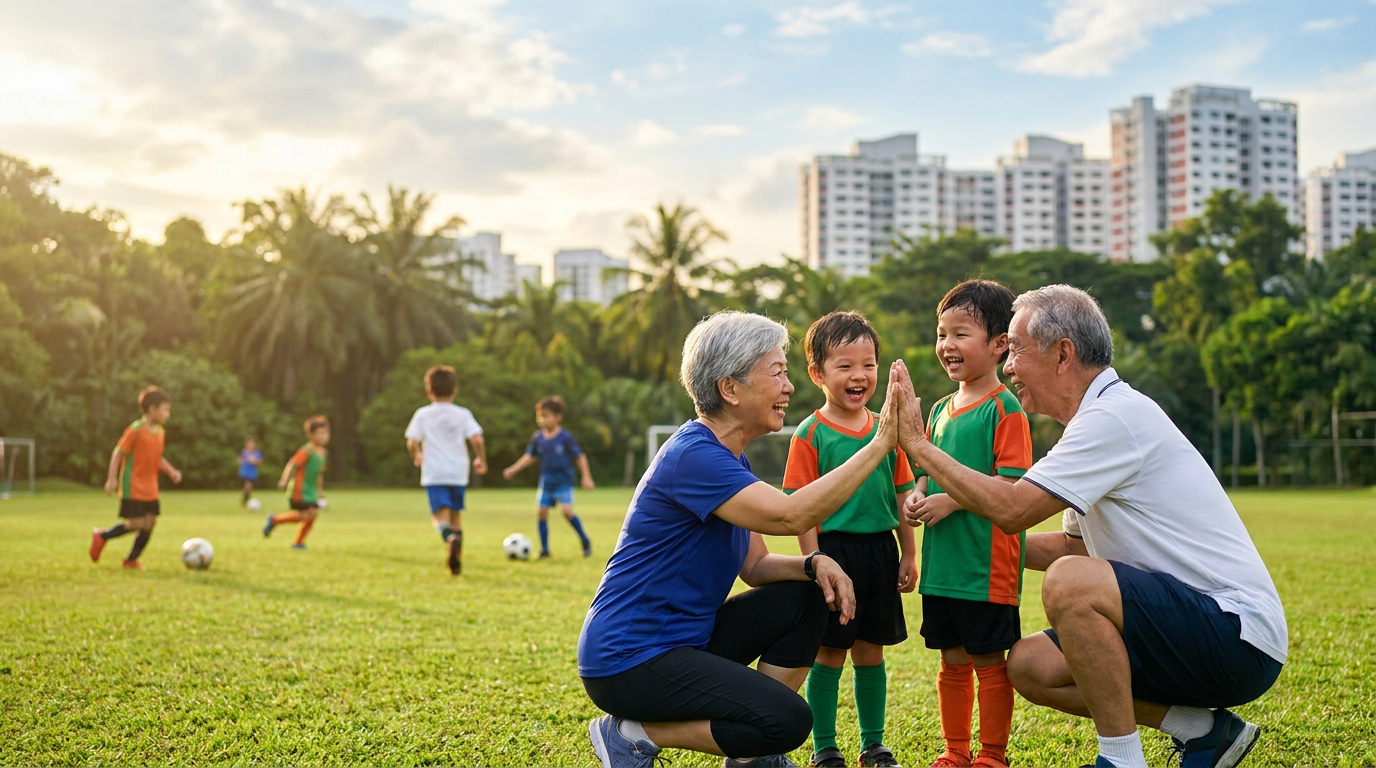
Also look for connection between children. Two teammates laughing together, a comforting arm around a frustrated player, a group celebrating with arms raised — these images capture the social and emotional growth that quality sports programmes nurture so deliberately. If your child is part of an environment like Vivo Kids, where character development is built into every session, you will have no shortage of these moments to photograph.
Tips Specific to Different Sports
Different sports present different photographic challenges. Here are targeted tips for the most common children's sports:
Soccer / Football - Shoot from behind the goal for dramatic inbound shots - The moment of contact during a kick is the peak action frame — time your shutter for that instant - Corner kicks and free kicks give you a predictable moment to focus on - At Vivo Kicks Academy training sessions, drill repetitions give you multiple chances to nail the same shot
Running / Athletics - A low angle makes runners look powerful and fast - Shoot at a slight angle to the runner rather than head-on for a more dynamic composition - The finish line and the start line are your highest-drama moments
Swimming - Shoot at the moment of water entry (the dive) or the turn at the wall - A fast shutter speed (1/1000s or faster) is essential to freeze splashing water - Shooting from poolside at water level creates striking, unusual perspectives
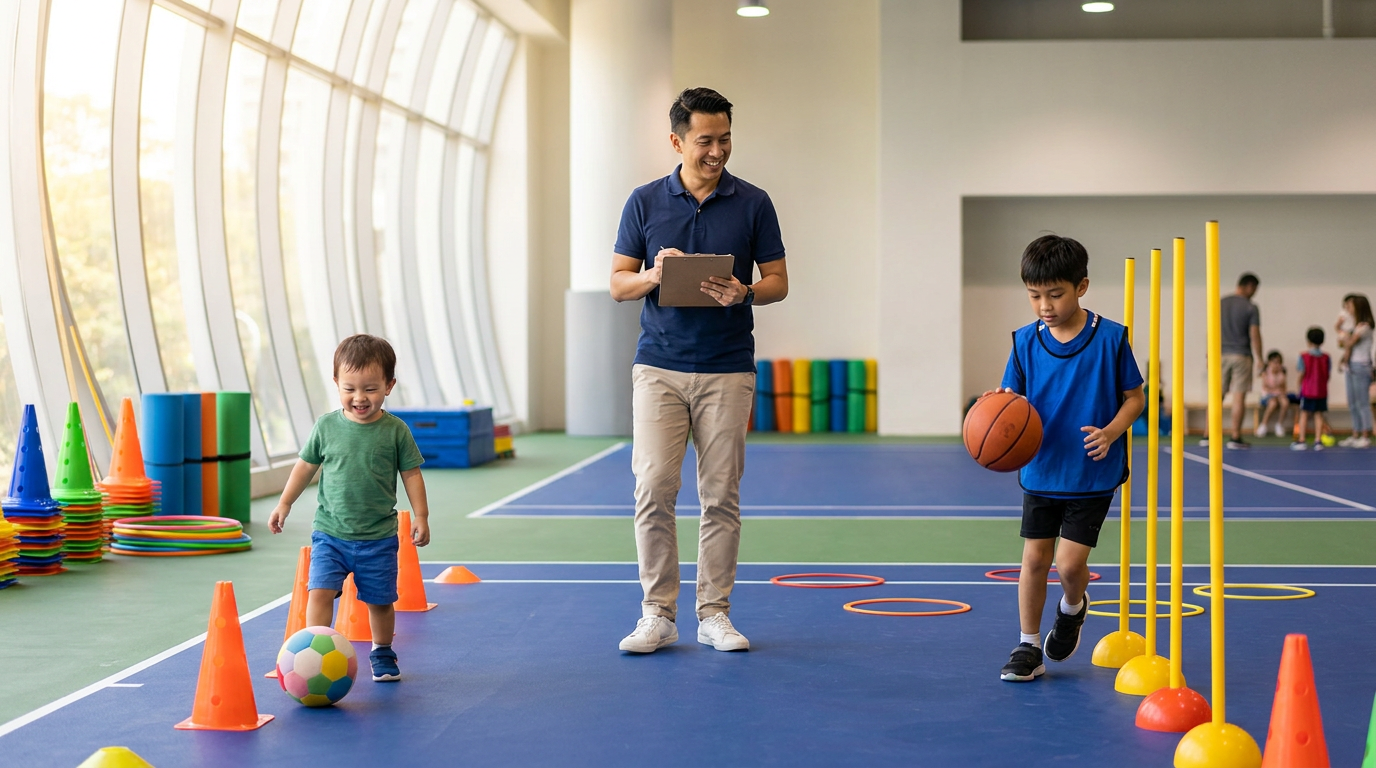
Multi-sport sessions - Bring a zoom lens so you can switch between close-ups and wider group shots without moving - Group activity shots showing teamwork are especially valuable memories - Watch for the transition moments between activities — children are often most natural and expressive then
Editing Your Photos: Quick Wins for Busy Parents
You do not need to spend hours editing. A few quick adjustments can transform a good photo into a great one, and free tools like Google Photos, Snapseed, or Lightroom Mobile make it genuinely easy.
Crop first. Most parents shoot slightly too wide to ensure they do not cut off any action. A tighter crop after the fact can dramatically improve composition and impact.
Boost clarity or texture slightly. This subtle adjustment adds crispness to a photo without making it look over-processed — ideal for action shots where sharpness is the goal.
Correct white balance. Especially in indoor gymnasiums, a simple white balance adjustment removes that unflattering yellow-green tint and makes skin tones look natural again.
Increase exposure selectively. If your child's face is slightly in shadow, use a tool like the "selective adjust" brush in Snapseed to brighten just that area.
Resist the urge to over-filter. Heavy Instagram-style filters often age poorly and distract from the genuine expression and energy of the moment you worked so hard to capture.
Infographic: Sports Photography Quick-Reference Cheat Sheet
Final Thoughts
Great sports photography is less about having the right gear and more about showing up with intention. When you understand a few fundamentals — how light works, which settings to use, where to stand, and when to watch for emotion rather than action — the quality of your photos improves dramatically, game after game.
More than the technical side, the real reward is in the archive you build over time. Every blurry near-miss, every perfectly timed leap, every muddy grin after a tough match adds up to a visual story of your child growing, trying, failing, succeeding, and discovering what they love. That story is worth telling well.
And of course, the more opportunities your child has to play, move, and compete in an encouraging environment, the richer that story becomes. If you are looking to give your child more of those moments — whether through a structured multi-sport programme or a focused soccer academy — Vivo Kinetics is here to help make that happen.
Give Your Child More Moments Worth Photographing
At Vivo Kinetics, we create environments where children grow in confidence, build real skills, and experience the kind of joy that makes for unforgettable photographs. From our Vivo Kids multi-sports programme for ages 2–6 to our Vivo Kicks Academy for budding footballers aged 6–12, every session is designed to bring out the best in your child — on and off the field.
Explore all our programmes at Vivo Kinetics →
Comments